Notes
Existing notes may be viewed or new ones created depending on the user’s access rights. When enabled, this feature is available via a toolbar button. By default, the notes will come up in a grid.
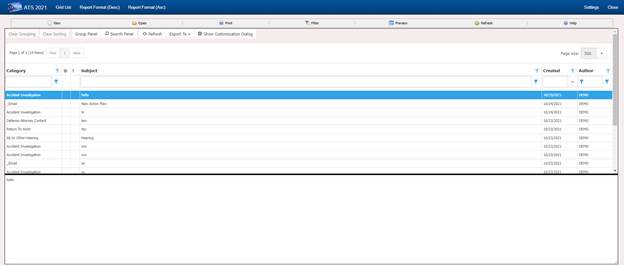
Claim Notes List
Clicking preview will toggle the grid between one preview at a time to full preview or back.
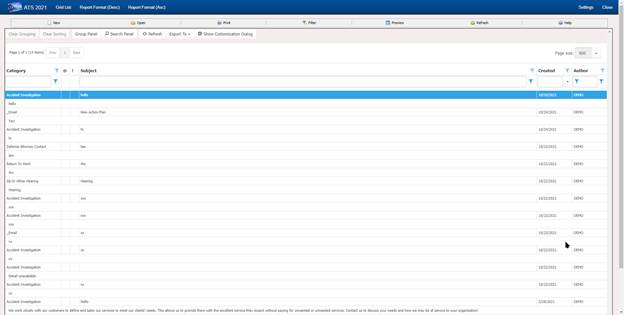
Claim Notes List – full preview
Click the Report View menu item to display each note and the contents in a report format that can be printed.
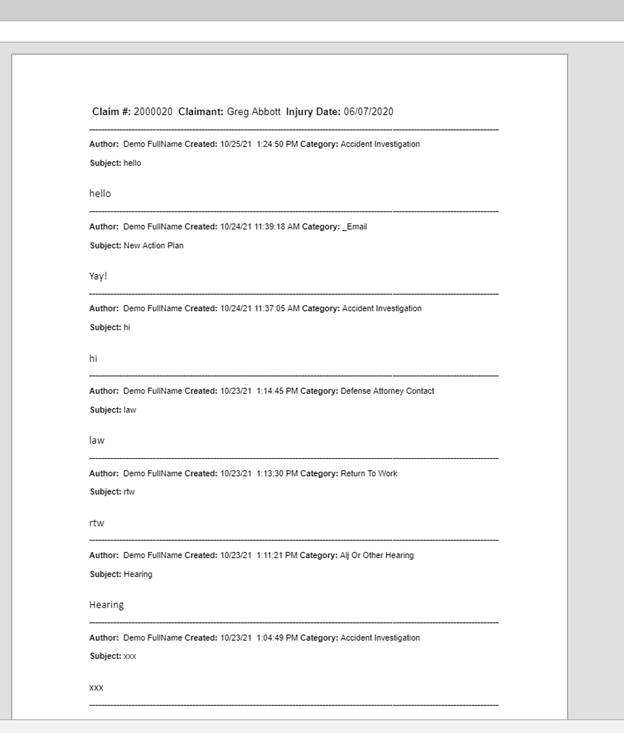
Claim Notes Report
Format
Editing Notes
Notes may be edited only on the day they were created. Since claim notes have the potential of becoming legal documents, they may not be changed afterwards. You can however based on your setting change the category.
Creating New Notes
To create a new note, use the New button. You will be asked to pick the type of note you wish to create
The dialog shown below is used to create notes.
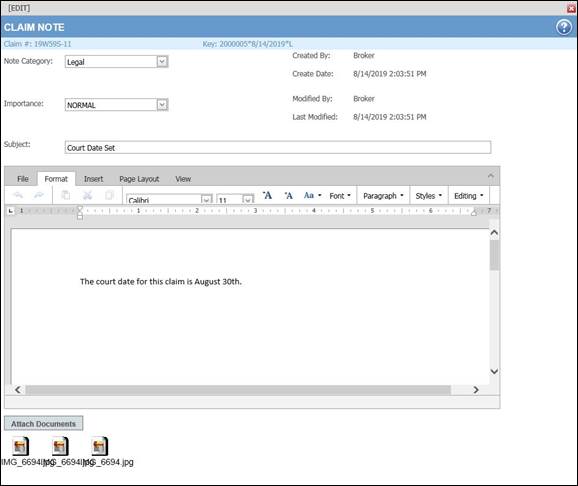
Figure 5‑20: Note Entry Dialog
Inserting Attachments
Click the Attach Documents button to display the dialog shown below. Click the Browse button to find the file you want. By default, the program will look in the user's My Pictures folder. After selecting a file, click the Save button.
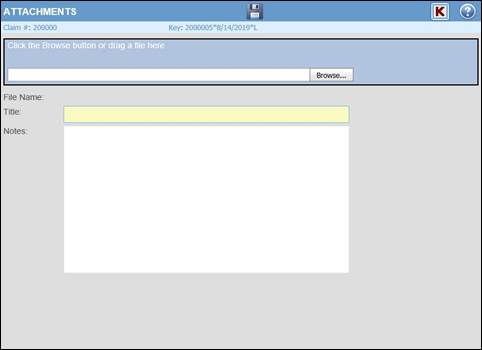
Figure 5‑21: Note Attachment Dialog
After selecting a file, an icon will appear in the note. When the note is saved, a paper clip will appear in the first column for the entry in the Notes window to indicate that there is an attachment.
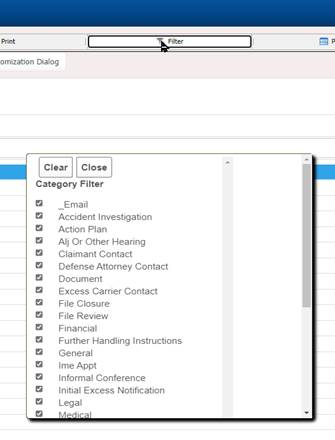
Changing the Filter
The Filter Results menu displays the following dialog so you may control your categories.